
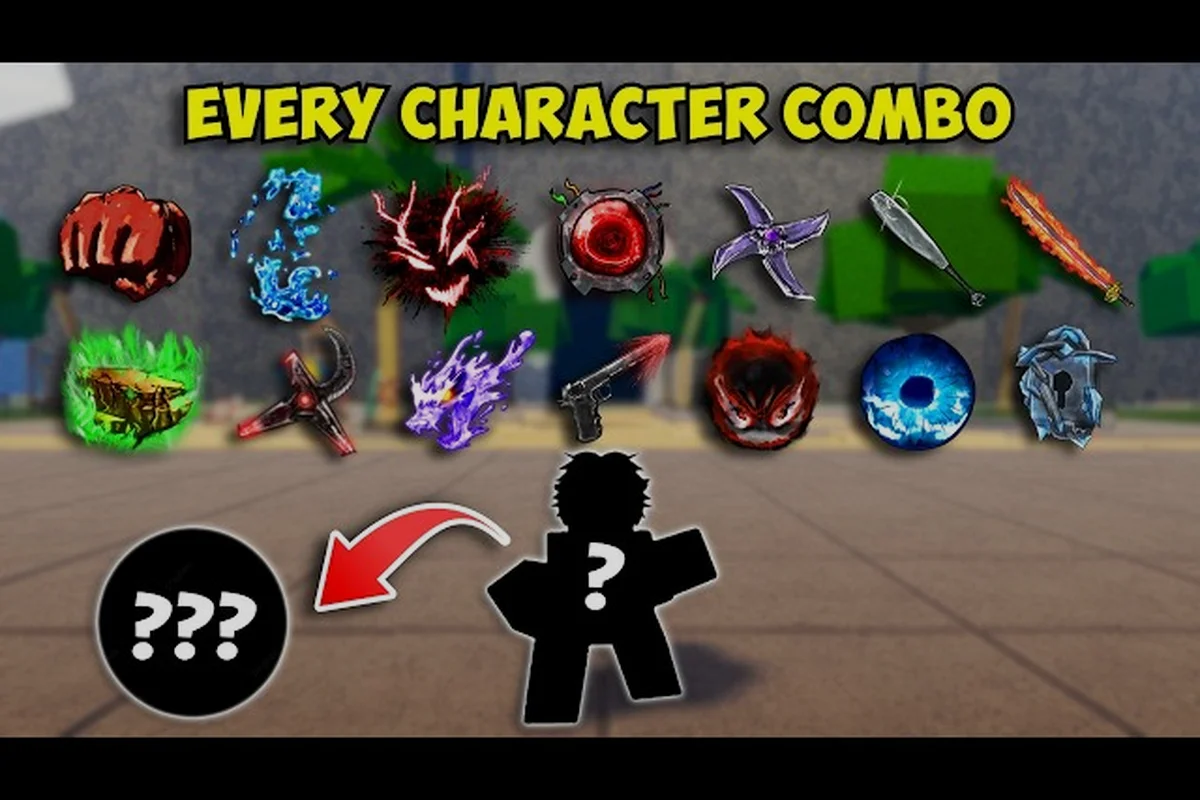
Winning fights in The Strongest Battlegrounds comes down to more than just mashing M1 — it's about chaining moves into unescapable sequences that delete health bars before your opponent can react. The best combos in The Strongest Battlegrounds turn a single opening into 60-80% of an opponent's HP, and learning them separates casual players from ranked threats. This combo guide breaks down the highest-damage chains, the easiest combos to master first, and the true combo mechanics that make certain sequences impossible to escape once the first hit lands.
The Strongest Battlegrounds Best Combos: Understanding True Combo Mechanics
Before you can execute the best combos in The Strongest Battlegrounds, you need to understand why certain chains work while others fall apart. A true combo means the opponent cannot act between hits — no ragdoll cancel, no burst, no escape. The game's combo system revolves around ragdoll states, launchers, and finishers, and knowing how these interact determines whether your sequence deals 30 damage or 90.
The core rule is simple: when an opponent enters ragdoll, they can ragdoll cancel by pressing a key at the right moment, which resets them to neutral. This is why the strongest combos in The Strongest Battlegrounds use moves that keep the opponent in a stun-locked state rather than a ragdoll state — or they chain the ragdoll so tightly that the cancel window never opens. According to community testing, most true combos rely on one of three setups:
-
M1 chains into launchers — basic attacks that end with an uppercut, launching the opponent into the air for an air combo
-
Move-cancel sequences — using a move's startup animation to cancel into another move before the first one finishes
-
Burst extension — activating Burst mid-combo to refresh cooldowns and extend the chain
Each character in the game has a unique kit, which means the best combos in The Strongest Battlegrounds vary depending on who you pick. However, the underlying principles stay the same across the roster, and once you internalize them, you can adapt any combo tutorial to your main.
Why Ragdoll Cancel Windows Decide Combo Viability
The ragdoll cancel window is the single most important mechanic to understand when learning how to combo in The Strongest Battlegrounds. When a move sends an opponent into ragdoll, they gain a brief window — roughly 0.5 seconds based on player reports — where they can press the ragdoll cancel key to escape. A combo is only "true" if it either avoids triggering ragdoll entirely or lands the next hit before that window opens.
This is why launcher moves are so valuable: they send opponents into the air in a stun state rather than a ragdoll state, giving you a generous window to follow up with air attacks. The best combo starters are moves that either have short hitstun that doesn't trigger ragdoll, or that chain directly into another move with no gap. Community data suggests that moves with fast startup frames (under 15 frames) are the most reliable combo starters because they leave almost no room for the opponent to react.
Top Damage Combos by Character: The Strongest Battlegrounds Combo Guide
Now that you understand the mechanics, let's break down the best combos in The Strongest Battlegrounds for the most popular characters. Each entry includes the input sequence, damage output, and difficulty rating, based on community testing and player reports from the official Roblox game page.
| Character | Combo Sequence | Damage | Difficulty |
|---|---|---|---|
| Saitama | 4 M1s → Uppercut → Dash → 2 M1s → Serious Punch | 85-95 | Easy |
| Garou | 3 M1s → Hunting Kick → Air combo (3 hits) → Extreme Fa Jin | 90-100 | Medium |
| Destructive Cyborg | 2 M1s → Machine Gun Blows → Dash → Spinning Kick → Incineration Cannon | 80-90 | Medium |
| Blade Master | 4 M1s → Rising Slash → Air Slash Combo → Atomic Slash | 95-105 | Hard |
| Deadly Ninja | 3 M1s → Shuriken Throw → Dash → 2 M1s → Wind Blade | 75-85 | Easy |
The Saitama combo above is one of the easiest combos in The Strongest Battlegrounds to learn because it relies almost entirely on M1 timing. The key is the uppercut launcher — it sends the opponent airborne in a stun state, giving you time to dash forward and land two more M1s before finishing with Serious Punch. This chain deals massive damage for its simplicity, which is why it's the first combo most players master.
For Garou, the Hunting Kick is a true combo extender because it launches the opponent in a way that doesn't trigger ragdoll cancel. You can follow up with a full air combo before landing Extreme Fa Jin as a finisher. This is one of the strongest combos in The Strongest Battlegrounds for damage-per-execution-time, though it requires more precise timing than the Saitama chain.
The Strongest Battlegrounds One Shot Combo: Is It Real?
Players frequently ask about the one shot combo in The Strongest Battlegrounds — a sequence that kills from full HP in a single opening. Based on community reports, true one-shot combos are extremely rare and typically require specific conditions: Ultimate Mode active, full Burst meter, and an opponent with no escape options available.
The closest reliable setup is a Burst combo with Saitama's Ultimate Mode. When you activate Ultimate (G key) and then Burst, your moves deal significantly increased damage and your cooldowns refresh faster. A full Ultimate combo can deal 120+ damage, which is enough to kill most characters from full HP. However, this requires you to have both meters full, which means it's not a consistent strategy — it's a win condition you build toward.
| Setup Requirement | Effect | Practical Use |
|---|---|---|
| Ultimate Mode active | 50% damage boost on all moves | Save for final stock or punish window |
| Burst meter full | Cooldown refresh + damage boost | Extend combos beyond normal limits |
| Opponent out of escapes | No burst, no ragdoll cancel available | Guarantees the combo lands fully |
The real takeaway is that the one shot combo exists, but it's a situational finisher rather than a reliable opener. You're better off learning consistent 80-100 damage combos that you can land every fight, rather than chasing a 120+ damage sequence that requires perfect conditions.
The Strongest Battlegrounds How to Combo: Step-by-Step Execution Guide
If you're new to the game and wondering how to combo in The Strongest Battlegrounds, start with the fundamentals before attempting advanced chains. This combo tutorial breaks down the execution process into steps that build on each other, and it's designed to get you landing real combos in your next match.
Step 1: Master M1 Timing
Your M1 chain is the foundation of every combo. Each character has a 4-5 hit M1 chain that ends with a launcher — the final hit sends the opponent airborne. Practice the timing until you can land all M1s without dropping the chain, because every combo in this game starts from this basic sequence.
The M1 chain timing is roughly 0.4 seconds between hits, based on player testing. If you click too fast, the chain drops; too slow, and the opponent can block or dash away. Spend time in Sparring mode practicing this until it's muscle memory, since the combo practice guide covers structured drills for exactly this purpose.
Step 2: Learn Your Launcher Follow-Ups
Once the opponent is launched, you have a stun window of roughly 1 second to follow up. The most reliable option is to dash forward and continue with air M1s or a gap-closing move. Different characters have different air options:
-
Saitama — dash + 2 air M1s into Serious Punch
-
Garou — Hunting Kick into air combo
-
Destructive Cyborg — Machine Gun Blows into Spinning Kick
The key is to practice each character's specific follow-up until you can land it consistently, and the fastest way to build that muscle memory is to isolate the air-phase timing in training mode rather than live matches. Most players drop combos here because they hesitate for a split second after the launcher connects, which breaks the true combo window and lets your opponent tech out or use their escape skill. For example, with Saitama, you must input the aerial heavy immediately after the launcher's knockback peaks—waiting for the character model to rotate fully will already be too late, costing you the entire 300+ damage one-shot sequence. A practical drill is to set the training dummy to "Random Guard" and run the same launcher-follow-up 20 times consecutively, focusing solely on the input rhythm until your fingers execute it without visual confirmation. Once that hesitation disappears from your muscle memory, you'll find that the rest of the combo chain—whether it's a grounded finisher or an extended air string—flows naturally, and your consistency in ranked matches will jump dramatically.
Step 3: Add Finishers
The finisher is your highest-damage move, saved for the end of the combo when the opponent is about to land. Using it too early wastes damage; too late, and the opponent recovers. The sweet spot is right before the opponent touches the ground after your air combo, because they're still in stun but the ragdoll cancel window hasn't opened.
Step 4: Practice in Sparring Mode
The game's Sparring mode is the best place to practice combos because it has no consequences for failure. Set up a routine where you practice each combo 10 times in a row, then move to the next one. According to the official game page, the game features 15-player servers with dedicated practice areas, making it easy to find space to train.
The Strongest Battlegrounds Easiest Combos for Beginners
Not everyone wants to spend hours grinding out frame-perfect links in training mode, and that’s fine—The Strongest Battlegrounds rewards smart, simple routing just as much as raw execution. For beginners, the goal is to build combos that are nearly impossible to drop under lag or panic, which means favoring moves with generous hitboxes and forgiving timing windows over the flashiest true strings. A reliable starter chain is M1 x3 into Heavy Slam, which launches your opponent cleanly and leaves them open for a follow-up Dash attack or a quick Ultimate if you have meter—no tight confirms required. The key is understanding that a dropped combo costs you far more than a slightly lower damage ceiling, so prioritize chains where every link connects consistently, even if they don’t hit the 60%+ HP benchmarks of the hardest one-shot routes.
The Saitama M1 combo is the easiest to learn because it requires zero special move timing — just M1s and a finisher. The Deadly Ninja combo is similarly accessible, with a simple Shuriken Throw into M1s that doesn't require precise air control. Both of these are true combos that work consistently at lower skill levels, and they'll carry you through early ranked matches.
| Combo | Inputs Required | Damage | Why It's Easy |
|---|---|---|---|
| Saitama Basic | 4 M1s → Uppercut → Serious Punch | 85 | No air control needed |
| Deadly Ninja Basic | 3 M1s → Shuriken → 2 M1s → Wind Blade | 75 | Short chain, forgiving timing |
| Tank Top Master Basic | 3 M1s → Tackle → 2 M1s → Tackle Slam | 70 | All ground-based, no jumping |
These beginner combos share a common trait: they avoid air combos entirely. Air combos require precise dash timing and camera control, which trips up new players. Ground-based chains are more forgiving because you can see the opponent's position clearly and adjust your inputs accordingly.
If you want to understand the deeper mechanics behind these chains, the combo starter guide covers the fundamentals of movement, blocking, and basic attack timing that every combo builds on. Master those basics first, and the combos above will feel natural within a few sessions.
Advanced Combo Extensions: The Strongest Battlegrounds True Combo Strategies
Once you've mastered the basics, it's time to learn the true combo extensions that separate good players from great ones. These techniques require precise timing but dramatically increase your damage output, and they're the difference between winning close matches and losing them.
Burst Combos and Meter Management
Burst is a mechanic that refreshes your move cooldowns and adds damage to your next attacks. The best combos in The Strongest Battlegrounds often incorporate Burst activation mid-combo to chain two full move rotations together. The timing is tight — you need to activate Burst during a stun window where the opponent can't react — but the payoff is an extra 40-60 damage.
The optimal Burst combo structure looks like this: it opens with a fast gap-closer (e.g., Martial Artist's Dash Punch or Saitama's Flash), immediately links into a launcher like Gun Devil's Uppercut to pop the opponent airborne, then chains 2–3 mid-air normals before slamming them down with a heavy finisher that triggers the knockback reset. The key is timing the final hit so the opponent's i-frames expire just as they land, allowing you to re-engage with a second burst cycle — this is what separates a 3-hit true combo from a 6-hit one-shot sequence that drains 80% of their HP bar.
-
Start with a launcher to create space
-
Activate Burst while the opponent is airborne
-
Land a full move rotation (3-4 moves)
-
Finish with your highest-damage move while Burst is still active
This structure works because Burst activation itself has a brief animation that doesn't interrupt your combo, and the cooldown refresh lets you use moves that would normally be on cooldown. According to community reports, a well-executed Burst combo can push your damage from 80 to 130+ in a single sequence.
Ragdoll Cancel Punishes
While most of this guide focuses on landing combos, understanding ragdoll cancel also helps you punish opponents who try to escape your chains. When an opponent ragdoll cancels, they're vulnerable for a brief moment during the recovery animation. If you anticipate the cancel, you can dash forward and start a new combo before they can block.
This is an advanced technique that requires reading your opponent's habits, but it's devastating when it works. The best combo players in the game don't just execute sequences — they adapt mid-fight based on whether the opponent tries to escape early or late. If you want to learn more about extending combos through these advanced techniques, the combo extension guide covers ragdoll cancels, launch resets, and other high-level mechanics in detail.
Character-Specific True Combos
Each character in The Strongest Battlegrounds carries at least one true combo exclusive to their kit—like Saitama's 3-Move True Combo (M1-M1-M1-Dash-M1-Heavy into Consecutive Normal Punches) or Garou's wall-bounce reset—and mastering these chains is what separates mid-ladder players from top-100 ranked pushers. Because true combos bypass the game's 4-frame escape window, landing one guarantees 35-45% of an opponent's HP bar without giving them a chance to pop Evasive or trigger their Awakening escape. In mirror matches, where both players know the same neutral tools, the one who can consistently convert a single stray hit into a full true combo wins the resource war, forcing the opponent to burn their 100-meter Awakening meter early just to break out of the loop.
| Character | True Combo | Damage | Execution Difficulty |
|---|---|---|---|
| Saitama | 4 M1s → Uppercut → Dash → 2 M1s → Dash → 2 M1s → Serious Punch | 100+ | Medium |
| Garou | 3 M1s → Hunting Kick → Air 3 hits → Extreme Fa Jin → Ground Slam | 110+ | Hard |
| Blade Master | 4 M1s → Rising Slash → Air 4 hits → Atomic Slash | 105+ | Hard |
| Destructive Cyborg | 2 M1s → Machine Gun Blows → Spinning Kick → Incineration Cannon | 90+ | Medium |
These character-specific true combos are the strongest combos in The Strongest Battlegrounds for their respective characters, but they require significant practice. The Garou combo in particular is notorious for its tight timing — the Hunting Kick into air combo window is only a few frames, and missing it means the opponent escapes with a ragdoll cancel.
Frequently Asked Questions
What is the best combo in The Strongest Battlegrounds?
The Saitama 4 M1 → Uppercut → Dash → 2 M1 → Serious Punch chain is widely considered the best all-around combo because it deals 85-95 damage with relatively simple execution. It works at all skill levels and doesn't require precise air control, making it both powerful and reliable in ranked matches.
How do I perform a true combo in The Strongest Battlegrounds?
A true combo requires chaining moves that keep the opponent in stun state without triggering a ragdoll cancel window. Use launcher moves to send opponents airborne, then follow up with air attacks before they land. Practice the timing in Sparring mode until you can land the full chain consistently.
Can you one-shot in The Strongest Battlegrounds?
Yes, but only with specific conditions. Activating Ultimate Mode and Burst together lets Saitama deal 120+ damage in a single combo, which kills most characters from full HP. However, this requires both meters full and an opponent with no escape options, making it a situational finisher rather than a reliable strategy.
What are the easiest combos for beginners?
The Saitama basic combo (4 M1s → Uppercut → Serious Punch) and Deadly Ninja basic combo (3 M1s → Shuriken → 2 M1s → Wind Blade) are the easiest to learn. Both are ground-based, avoid complex air control, and deal 75-85 damage, making them perfect for new players building combo fundamentals.
How do I extend combos with Burst?
Pop Burst right as your launcher connects—it refreshes your move cooldowns mid-air, letting you chain a full rotation before the finisher lands. Time it during the ragdoll-cancel window so your opponent can't tech out. This adds roughly 40-60 damage, turning a standard true combo into a burst combo.