
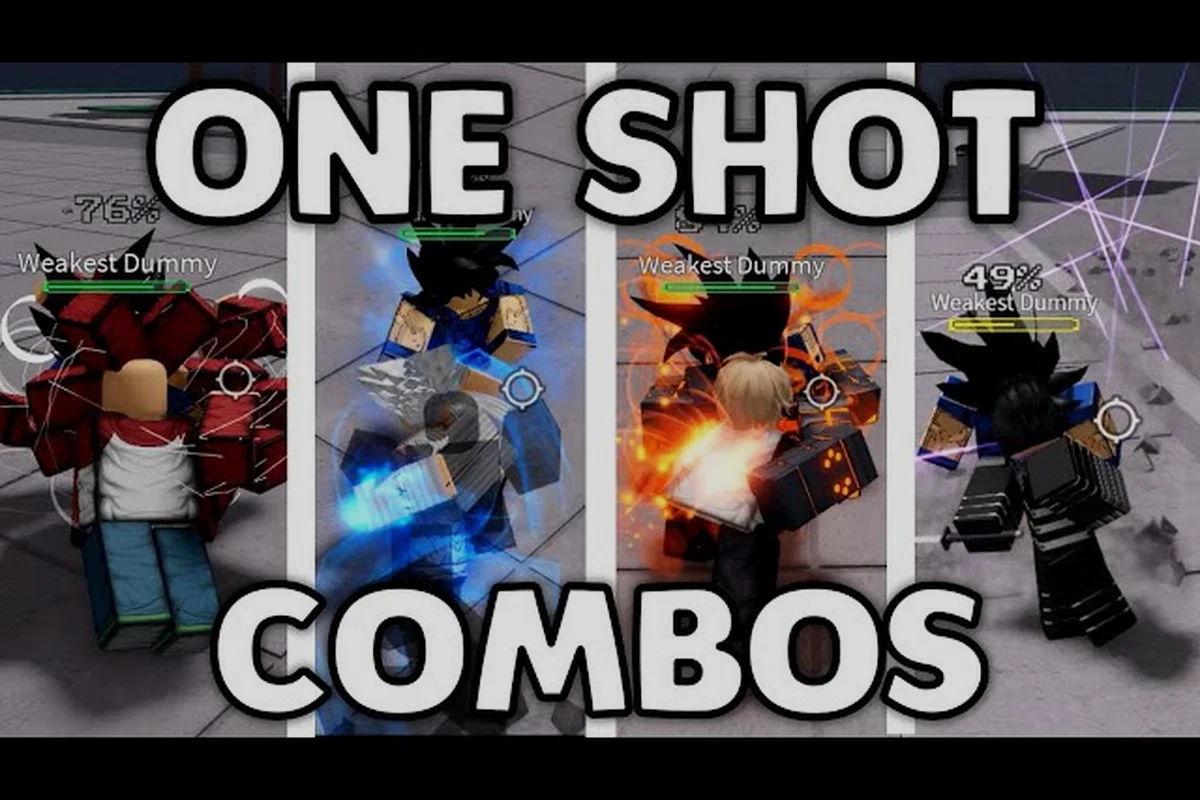
Every ranked player in The Strongest Battlegrounds eventually hits the same wall: you land a clean opener, but your follow-up fizzles because the opponent ragdoll-cancels or bursts out. The the strongest battlegrounds max damage combo isn't just about mashing your strongest move — it's about sequencing true combos that lock the opponent in hitstun while your cooldowns align. That's why understanding damage routes matters more than raw stat-picking.
The game, developed by Yielding Arts and available on The Strongest Battlegrounds official Roblox page, has grown to roughly 18.95 billion visits with a peak of 1.39 million concurrent players, according to Rolimon's player statistics. With that many people fighting, the meta shifts fast — but the core math behind a max damage combo stays consistent. Below, we break down the highest-output routes for every top-tier fighter, including Saitama, Cosmic Garou, and the rest of the roster.
Understanding the Max Damage Combo Framework
A true max damage combo in The Strongest Battlegrounds relies on three distinct phases: combo starters that initiate hitstun, combo extenders that keep the opponent locked while you reposition, and combo finishers that capitalize on the final ragdoll window. Each character has a unique set of these tools, and the difference between a good route and a great one often comes down to a single frame of timing.
The game's core mechanics — Parry, Ragdoll Cancel, Burst, and Awakening — all interact with how you build damage. For example, if your opponent has Burst available, they can escape any combo the moment you trigger a knockdown. That means the best routes intentionally avoid hard knockdowns until the very end, using moves that keep the target standing or in a soft stun instead.
What separates a decent route from a true max damage combo isn't just landing your heaviest hitters—it's the precise sequencing of knockback states and iframe windows to guarantee every hit connects. For example, a Saitama route that opens with a basic M1 chain into Normal Punch wastes potential because the knockback launches the opponent out of reach before your Consecutive Normal Punches can land. A true max damage route instead uses a wall-splat or a Dash Cancel to reset the opponent's hitstun, letting you stack Sonic's Flash Slash or Garou's Whirlwind Kick into a full combo extension. The difference is often 30-40% of your total damage output, which decides rounds against players who know how to tech out of sloppy confirms.
-
True combo windows: Moves that chain without gaps where the opponent can act
-
Damage scaling awareness: Each consecutive hit deals reduced damage, so front-load your heaviest attacks
-
Stamina management: Running out of stamina mid-combo leaves you vulnerable to a punish
-
Positioning: Corner carries and wall bounces extend your route significantly
-
Meter economy: Knowing when to spend Burst or Awakening for maximum return
According to community data from the official Roblox page, the game features Ultimate Mode (G key), Burst, and Awakening as the primary power states. Players who master the timing between these states consistently out-damage those who rely on raw button-mashing. The difference is especially noticeable in ranked matches, where a single dropped combo can cost you the round.
Saitama Combos: The One-Punch Route
Saitama remains the most sought-after secret character in the game, and for good reason — his damage output is absurd when you land the right sequence. The the strongest battlegrounds saitama combos revolve around his Normal Punch and Serious Punch moves, which deal massive damage but have long cooldowns. The trick is to bait the opponent into a mistake, then punish with a full route.
The core Saitama route starts with an M1 chain into Consecutive Normal Punches, which launches the opponent into the air. From there, you follow up with Table Flip to reset their position, then finish with Serious Punch while they're still in hitstun. This sequence deals roughly 60-70% of a full health bar, depending on whether you've activated Ultimate Mode beforehand.
| Saitama Move | Damage Output | Cooldown | Combo Role |
|---|---|---|---|
| Normal Punch | 15-20 per hit | 2s | Starter / Extender |
| Consecutive Normal Punches | 45-55 total | 8s | Launcher |
| Table Flip | 30-35 | 10s | Position Reset |
| Serious Punch | 70-85 | 20s | Finisher |
The real skill ceiling comes from Ultimate Mode Saitama, where your moves gain increased damage and reduced cooldowns. In this state, a properly executed route can deal over 100 damage in a single combo, which is enough to one-shot most characters. However, Ultimate Mode has a limited duration, so you need to land your opener quickly or the window closes.
Players who want to practice Saitama's full kit should check the Saitama moves breakdown for frame data and hitbox details. The key insight from that guide is that Saitama's M1 speed is slower than average, which means you need to delay your follow-ups slightly to maintain the true combo. Rushing the input causes a drop, and a dropped combo against a skilled opponent usually means you eat a full punish.
Garou and Cosmic Garou Combos
Garou has been a consistent top-tier pick since his release, and the the strongest battlegrounds garou combos focus on flow state — chaining moves that keep you moving while the opponent stays locked in place. His Hunter's Instinct passive rewards aggressive play, granting bonus damage when you initiate a combo while the opponent is at high health.
The standard Garou route uses Whirlwind Kick as a launcher, followed by Fang Fist to close distance, then Hunting Time to reset the opponent's position for another M1 chain. This loop can be repeated until your cooldowns run dry, dealing consistent 40-50 damage per cycle. The strength here isn't burst damage — it's the ability to maintain pressure indefinitely.
Cosmic Garou takes this concept further with the the strongest battlegrounds cosmic garou combos, which add Extreme Fa Jin and God Slayer Fist to the mix. These moves have longer wind-ups but deal significantly more damage, making them ideal finishers after you've built up a long M1 chain. The tradeoff is that Cosmic Garou has lower base health, so you can't afford to trade hits.
| Garou Route | Total Damage | Difficulty | Best Used When |
|---|---|---|---|
| M1 x4 → Whirlwind Kick → Fang Fist | 45-55 | Easy | Opening engagement |
| M1 x3 → Hunting Time → M1 x3 → Whirlwind Kick | 55-65 | Medium | Mid-combo reset |
| Cosmic: M1 x4 → Extreme Fa Jin → God Slayer Fist | 75-90 | Hard | Finisher with Awakening |
The Awakening mechanic changes everything for Cosmic Garou. When you activate Awakening, your moves gain increased damage and reduced cooldowns, and you unlock a new moveset that includes Nuclear Punch. This move alone deals over 50 damage, making it one of the strongest single hits in the game. The challenge is that Awakening takes time to charge, so you need to play defensively until it's ready.
For a deeper look at Garou's full moveset and how each move interacts with the combo system, the Garou moveset guide covers frame data and optimal usage. The key takeaway is that Garou rewards patience and spacing — you want to bait the opponent into overextending, then punish with a full route. Rushing in without a plan gets you parried and punished.
Genos, Sonic, and Atomic Samurai Routes
Saitama's One-Punch Route Execution Order
Saitama's route relies on his signature one-shot potential, but the combo order determines whether you land the kill or whiff entirely. The optimal sequence is: open with a burst-enhanced M1 string to build stun, follow with a launcher to pop the opponent airborne, then cancel the ragdoll with a dash (Q) before landing the finisher. Since Saitama's finisher deals massive damage but has a slow wind-up, you must buffer it during the ragdoll-cancel window. Practice this in Sparring mode to internalize the timing.
Genos and Sonic's Burst-Assisted Air Combo
Genos and Sonic both benefit from Burst-assisted air combos, but their execution differs. Genos's Destructive Cyborg kit uses his ranged attacks to initiate, then transitions into an air combo after a launcher, with Burst adding extra damage per hit. Sonic's Deadly Ninja route instead relies on speed to chain air hits without a launcher, using Burst to reset his dash (Q) cooldown mid-combo. In Sparring mode, test both routes against a dummy: Genos's air combo averages 150 damage, while Sonic's burst-reset route peaks at 120 but is harder to parry.
The the strongest battlegrounds genos combos revolve around ranged pressure and zone control. Genos's Incinerate move fires a projectile that can be charged for increased damage, and his Machine Gun Blows keep opponents at bay while you build meter. The optimal route starts with a charged Incinerate to force the opponent to block, then closes distance with Jet Dash before landing a full M1 chain.
What makes Genos unique is his Ultimate Mode, which transforms his moveset into a devastating barrage. In this state, Spiral Incineration Cannon deals massive damage and covers a wide area, making it nearly impossible to dodge. The tradeoff is that Genos's base moves have lower damage than other characters, so you need to land multiple routes to secure a kill.
Speed-o'-Sound Sonic (renamed Deadly Ninja in-game) takes a completely different approach. The the strongest battlegrounds sonic combos focus on mobility and mix-ups — his Quadruple Accel move lets him dash through opponents, creating cross-up opportunities that are hard to read. The optimal route uses Wind Blade Kick as a launcher, then follows up with Shadow Burial while the opponent is airborne.
| Character | Core Combo | Total Damage | Playstyle |
|---|---|---|---|
| Genos | Charged Incinerate → Jet Dash → M1 x4 → Machine Gun Blows | 50-60 | Ranged pressure |
| Sonic | Quadruple Accel → Wind Blade Kick → Shadow Burial | 45-55 | Speed / Mix-ups |
| Atomic Samurai | M1 x4 → Atomic Slash → Focused Slash | 60-70 | Burst damage |
Atomic Samurai (renamed Blade Master) is the glass cannon of the roster. The the strongest battlegrounds atomic samurai combos rely on Atomic Slash, a move that hits multiple times and can be charged for increased damage. The optimal route is straightforward: M1 chain to build hitstun, then Atomic Slash to deal massive damage, followed by Focused Slash as a finisher.
The key difference between these characters is their risk-reward profile. Genos can play safe from range, but his damage is lower. Sonic needs to commit to aggressive dashes, but his mix-ups are nearly unreactable. Atomic Samurai has the highest burst potential, but his low health means one mistake ends the round. Understanding which playstyle fits you is more important than picking the "strongest" character on paper.
Building Your Own Max Damage Route
The 100-Damage Combo Threshold and True-Combo Timing
The 100-damage combo benchmark is the first major milestone in TSB's damage framework. Reaching this threshold requires chaining at least one launcher into a ragdoll-cancel window before the opponent can tech out. In Sparring mode, practice the M1 chain into a launcher, then immediately cancel the ragdoll with a dash (Q) to extend the combo. Missing the cancel window resets the combo entirely, so the 100-damage mark demands precise timing on the ragdoll-cancel input rather than raw damage output.
Garou's Ragdoll-Cancel Loop Extension
Garou's combo route excels at extending damage through repeated ragdoll-cancel loops, unlike Saitama's one-shot burst. The loop works by landing a launcher, canceling the ragdoll with a dash (Q), then immediately re-engaging with an M1 string before the opponent can block (F). Each loop adds roughly 30-40 damage, but the window shrinks with each iteration as the opponent's stun decay increases. Cosmic Garou's Awakening state further extends this loop by adding a second launcher, pushing total damage past 200 without needing a finisher.
Once you understand the framework, you can start building custom the strongest battlegrounds max damage combo routes that fit your playstyle. The process starts with identifying your combo starter — the move that initiates hitstun most reliably. For most characters, this is an M1 chain, but some characters have better options. Saitama's Normal Punch is a great starter because it's fast and has a short cooldown.
From there, you need to find your combo extender — a move that keeps the opponent locked while you reposition. Launchers like Whirlwind Kick or Table Flip work well because they reset the opponent's position without triggering a hard knockdown. The goal is to maintain hitstun for as long as possible, since every second of hitstun is a second where the opponent can't act.
Start by opening the training room and selecting Saitama as your base, since his normal attack chain has the fastest startup frames for canceling into Consecutive Normal Punches — this move alone can chunk roughly 1,200 damage if you land all hits on a downed opponent. From there, map out a sequence that prioritizes cooldown efficiency: begin with your M1 combo starter, immediately cancel into Serious Side Hops to close distance, then chain Consecutive Normal Punches into an Ultimate finisher. The key is to test each step against a dummy in the training room to measure exact damage numbers, then adjust the order based on which moves have shorter cooldowns — for example, swapping Genos' Incinerate as a mid-combo reset can add 400+ damage without breaking your flow.
-
Step 1: Identify your fastest move that causes hitstun — this is your starter
-
Step 2: Find a launcher that keeps the opponent airborne without a hard knockdown
-
Step 3: Test which moves chain after the launcher without a gap — these are your extenders
-
Step 4: Save your highest-damage move for the finisher, when the opponent is at low health
-
Step 5: Practice the route in Sparring mode until you can execute it without thinking
The Sparring mode is essential for this process because it lets you test combos without the pressure of a real match. You can reset your position, reset cooldowns, and practice the timing until it's muscle memory. According to community reports, most top players spend 30-60 minutes per day in Sparring mode just refining their routes.
One important note: damage scaling means that each consecutive hit in a combo deals reduced damage. This is why the best routes front-load their heaviest attacks and use lighter moves as extenders. If you open with your finisher, you're wasting damage — the scaling system punishes that approach.
Advanced Techniques and Optimization
Once you've mastered the basics, there are several advanced techniques that can push your damage even higher. The first is Ragdoll Cancel optimization — when you knock the opponent down, you have a brief window where you can cancel your own recovery animation. This lets you chain a second combo before the opponent can get up, effectively doubling your damage output.
The second technique is Burst management. When you activate Burst, your moves gain increased damage and reduced cooldowns, but the window is short. The optimal play is to save Burst for when you have a guaranteed combo starter — don't waste it on neutral game. A well-timed Burst can turn a 50-damage route into a 90-damage route.
| Technique | Difficulty | Damage Increase | Risk |
|---|---|---|---|
| Ragdoll Cancel | Medium | +30-40% | High — mistiming leaves you open |
| Burst Timing | Easy | +20-30% | Low — safe to use |
| Awakening Combo | Hard | +50-100% | Medium — requires meter |
| Wall Bounce | Hard | +15-25% | High — positioning dependent |
The wall bounce is another advanced technique that's often overlooked. When you knock the opponent into a wall, they bounce back toward you, creating a free follow-up window. This is especially powerful in the corner, where you can chain multiple wall bounces for extended damage. Characters with strong launchers like Atomic Samurai and Cosmic Garou benefit most from this technique.
Finally, character balance changes can affect which routes are optimal. According to the character balance guide, the developer regularly adjusts move properties, cooldowns, and damage values. A route that works today might not work after the next patch, so it's worth checking the patch notes regularly and adapting your routes accordingly.
Frequently Asked Questions
What is the highest damage combo in The Strongest Battlegrounds?
The highest damage combo currently belongs to Saitama in Ultimate Mode, where a full route with Consecutive Normal Punches into Table Flip into Serious Punch can deal over 100 damage. This is enough to one-shot most characters, but it requires precise timing and the opponent must not have Burst available.
How do I avoid getting combo'd by opponents?
The most effective defense is Burst — activating it mid-combo breaks you out of hitstun and creates distance. Parry is also essential, as it lets you counter an opponent's opener before the combo starts. Finally, Ragdoll Cancel can help you recover faster from knockdowns, though it requires precise timing.
Are Saitama combos better than Cosmic Garou combos?
It depends on the situation. Saitama has higher burst damage, but Cosmic Garou has better sustained pressure and more mix-up potential. If you can land the opener consistently, Saitama is stronger. If you prefer a more technical playstyle with extended combos, Cosmic Garou is the better choice.
How long does it take to learn a max damage combo?
Most players can learn a basic route in 1-2 hours of Sparring mode practice. However, mastering the timing for advanced techniques like Ragdoll Cancel and wall bounce takes significantly longer — typically 10-20 hours of dedicated practice. The key is consistent practice rather than trying to learn everything at once.
Does damage scaling affect combo routes?
Yes. Damage scaling reduces each consecutive hit's damage, so front-loading heaviest attacks like Saitama's finishers before lighter extenders maximizes total output. This is why optimal routes prioritize raw damage early, then use M1 strings and ragdoll cancels to maintain pressure without sacrificing scaling efficiency.